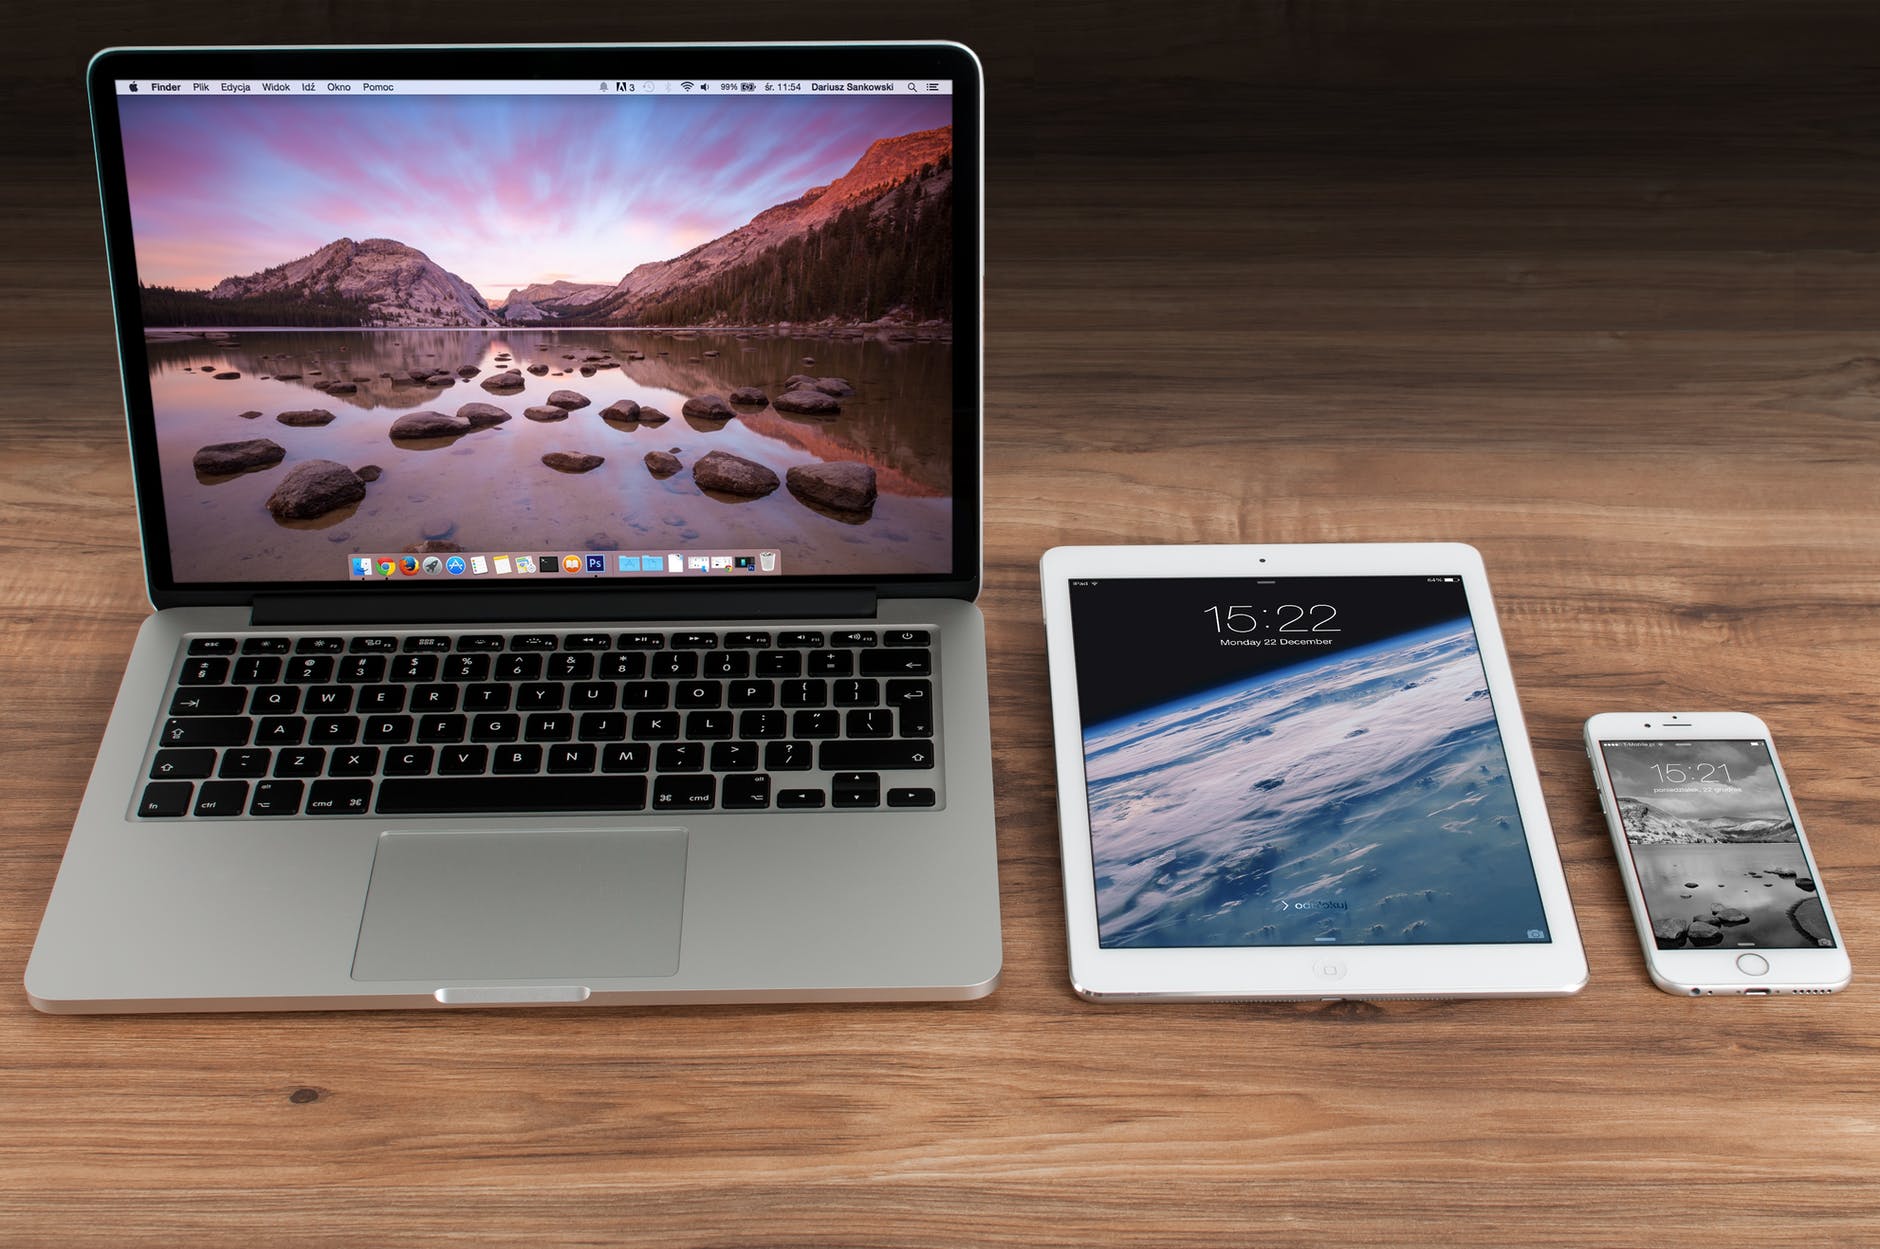
How do I get my photos off my phone onto my laptop?
I was asked recently, (when I say recently, I mean a couple of months…no…now that I’ve checked, I realise it was four months ago, oops) anyhow… ‘How do I get my photos off my phone onto my laptop?’
Great question!
Honestly? I had no idea. Okay…that’s not entirely true. I had a vague idea of how to do it, bouncing around in that crowded abyss of my mind. One of the adult kidlings may have shown me how at some stage – something to do with iTunes. Until recently, (yesterday, she whispers), I sent emails with photos attached – from me, via my iPhone, to me on my laptop. That’s okay if there are only one or two photos to transfer – I transferred fifteen photos – it took three emails. It seemed easier than finding a more plausible solution.
I decided, now is the time to look into it.
Mr Google revealed a number of blogs covering the subject. One of the explanations I found useful. Of course, that source cannot be found again, so sadly cannot give credit where credit is due. As a result, I had to go on vague memory of the little information I took in. Success, after two attempts – it worked.
I was particularly interested in using methods that don’t involve iTunes. I think mostly because I found it confusing at the time I was shown. It may not be for most of you but…my excuse and I’m sticking to it. Moving right along…
First one: You need your phone, the USB cable suitable for your phone and a laptop.
- Plug the cable into your phone and laptop.
- Make sure your phone is open. Click on Trust when it comes up on your phone. You may need to pin your security number to get started.
- On your laptop, click on the search in the left bottom corner, type in photos.
- Click on Import which is located top right-hand corner of the window that pops up. Select: From a connected device.
- The search for the photos begins; when they are found, they will appear on your screen – all of them. If you have a lot of photos on your phone, it will take a while.
- You can now select which photos you want to save onto your computer. This will not delete the photos from your phone.
Second one: Google Drive – You need the Google Drive phone App (it’s free) and Google Docs on your computer.
This is good to use if you don’t have an entire phone photo library to transfer. Once again, uploading photos will not delete them from your phone.
- Open the Google Drive phone app.
- Click on the colourful plus sign in the right-hand bottom corner.
- Click on Upload. Probably a good time to mention you will need to allow Google to access the photos on your phone. If you haven’t already, it will take you to settings so you can give the permission.
- Select Photos and Videos and up pop your recent photos and albums.
- Select the photos you’d like to upload, then click on Upload in the top right corner of your phone.
- A message will come up: uploads pending, and then: complete.
- If you want the photos to be in a file on your PC – use your computer to download the file from Google drive. Click on the album or photos then click on the download arrow. If you don’t wish to keep the photos in Google, you can delete them, once the download is complete.
Third one: DropBox
- Similar to using Google Drive.
There you have it…
The three options: USB cable from phone to PC, Google Drive uploads, and Dropbox uploads are not exclusive to iPhone users. I’ve found choices that I hope you will find user friendly – I lose interest with complicated explanations.
I’m not sure why it took me so long to remember I use the Google Drive method quite regularly. I haven’t used DropBox for a while, but I am reassured by friends that it works for them. A bonus to using options two and three: you can share your photos with other people. For example in Google Drive: file – family photos…right click on the file or the individual photo and select the share icon (it’s the first choice in the dropdown), add email address/addresses. The person you’ve added will receive an email with the link.
If you are after other transfer options and you have an iPhone, *AnySoftwareTools.com outlines five ways to transfer your photos to your PC; DropBox included as one of the options.
Another link* you may be interested in is Google Photos.
So there you have it. I’ve learned something new today, I hope you did too.
* Unsponsored link
